Table of Contents
SSH ans X Server configuration
SSH or Secure Shell is a cryptographic network protocol for operating network services securely over an unsecured network, also has capabilities for remote command line, remote login and remote command execution. SSH by itself is not capable of rendering client-side graphical windows, but it can make use of the X Window System protocol commonly known as X11, which allows composing and rendering graphical windows in bitmap format, the rendering job is performed on what is known as the X Server which runs on the client side.
Hardware Setup

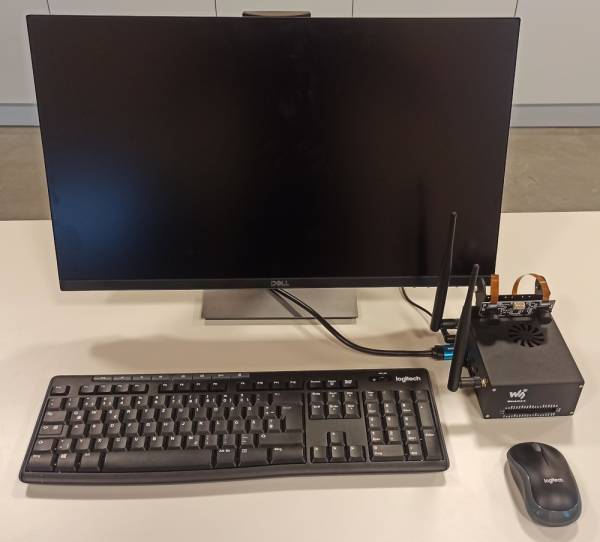
Be sure to connect the following peripherals:
- Mouse
- Keyboard
- Screen (using an HDMI cable)
- Power Plug (of course)
Turn on the Jetson Xavier NX by pressing the POWER button.
Depending on the configuration at the time of installing the operating system, a login screen will appear, or it will automatically log in and skip this.
Once the operating system is ready open the terminal by pressing the key combination Ctrl + Alt + T, or use the applications menu and search for Terminal.
Getting the IP address
To connect remotely it is necessary to obtain the IP address of our Jetson board.
ifconfig
If you will use the remote connection via wifi look for the wlan0 section and the sequence of numbers after the text inet, for example inet 192.168.56.98. In case of using it by ethernet look for the eth0 section, or by usb usb0.
This IP address and the previously configured password will be the necessary data to perform the remote connection.
There is not much else to configure in the Jetson for remote connection.
Remote Connection
On the remote computer, it is necessary to install an X Server and an SSH Client.
This is an example for windows using Xming (is an X11 display server for Microsoft Windows) and KiTTY which was designed only for windows (it is much more than just an SSH client!). You can select any software of your choice, here are some alternatives.
X Server:
SSH Client:
- PuTTY (recommended alternative, Windows, Linux, MacOS)
X Server setup
After downloading and installing Xming go to the start menu and look for the XLaunch application that is installed together with Xming, once the window is displayed select the Multiple windows option and press Next.

In the next window select Start no client.

In the next window just check Clipboard and press Next.

And finally press Finish.

At this point the X Server is already running, the next step will be to configure our SSH client to forward X11.
SSH Client Setup
Once downloaded KiTTY we look for the KiTYY application in our start menu. It will show us a window like this in which we must write the IP address of our Jetson board.

It is necessary to enable X11 forwarding for that in the left panel go to Connection→SSH→X11 and check the Enable X11 forwarding option.

Now we are going to save a profile with the current configuration so that in the future we can simply load it and not have to do it all over again, for that in the left panel we go to the top part that says Session, in the text box we write the number of our session and press Save.

Press the Open button to start the SSH connection.

A window will appear where we must write the user name of our Jetson board (in this case xavier) and the user's password.

If the user and password are correct we will see something like this, where it welcomes us and gives us some details of the system to which we have connected.

Finally to open a graphical window coming from the Jetson board just type the name of the application in the terminal, for example the application gedit for that we type gedit in the terminal and the result will be this.

Ready! now we can call graphical windows from our SSH connection.
Linux and MacOS
For Linux and MacOS the steps are essentially the same as Windows, but soon there will be a step-by-step for each platform.
IMPORTANT NOTE: Make sure that the Jetson and the remote computer are connected to the same network, otherwise it will not work.