
Table of Contents
Nomachine Configuration
NX technology, commonly known as Nomachine, is a proprietary software for remote access, desktop sharing, virtual desktop and file transfer between computers. The design of NX was derived from the DXPC (Differential X Protocol Compressor) project, like VNC it has a client-server architecture for remote connection and also renders the graphical environment on the server side.
Hardware Setup
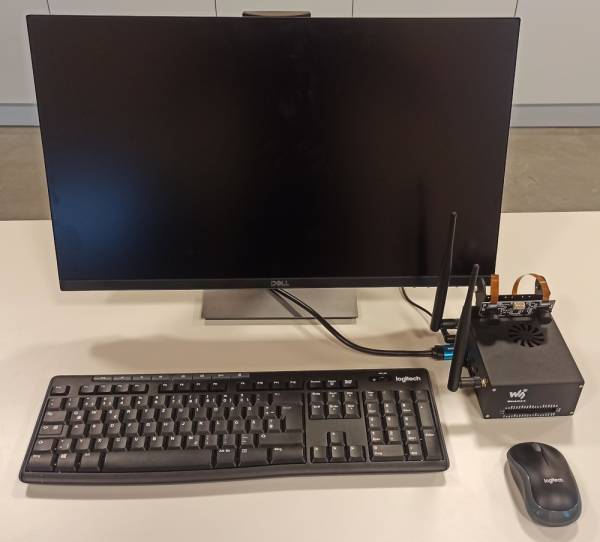
Be sure to connect the following peripherals:
- Mouse
- Keyboard
- Screen (using an HDMI cable)
- Power Plug (of course)
- Turn on the Jetson Xavier NX by pressing the POWER button.
Turn on the Jetson Xavier NX by pressing the POWER button.
Depending on the configuration at the time of installing the operating system, a login screen will appear, or it will automatically log in and skip this.
Once the operating system is ready open the terminal by pressing the key combination Ctrl + Alt + T, or use the applications menu and search for Terminal.
Instaling Nomachine
In the Jetson board desktop environment run the following commands.
cd ~/Downloads/ && wget https://download.nomachine.com/download/7.1/Arm/nomachine_7.1.3_1_arm64.deb
sudo dpkg -i nomachine_7.1.3_1_arm64.deb
Once the installation process is finished an icon will appear in the upper right corner.

Click on the icon and select the option Show server status.

A window will appear showing the IP address of the Jetson board, this IP address is the one needed to connect remotely.

https://www.nomachine.com/download
IMPORTANT NOTE: Make sure that the Jetson and the remote computer are connected to the same network, otherwise it will not work.